
Welcome to our comprehensive guide: How to Invite Someone to Meta Business Suite.
Unlock the full potential of Meta Business Suite with ease as we walk you through the essential steps to invite someone to join your digital journey. Whether you’re a marketer streamlining your workflow or a business owner enhancing your online presence, our expertly crafted instructions and insider tips will empower you to effectively connect with collaborators within the Meta Business Suite environment.
So, let’s get started and elevate your Meta Business Suite experience together!
Creation Date: February 8, 2024
Created By: Nathan Armstrong
# Business Settings
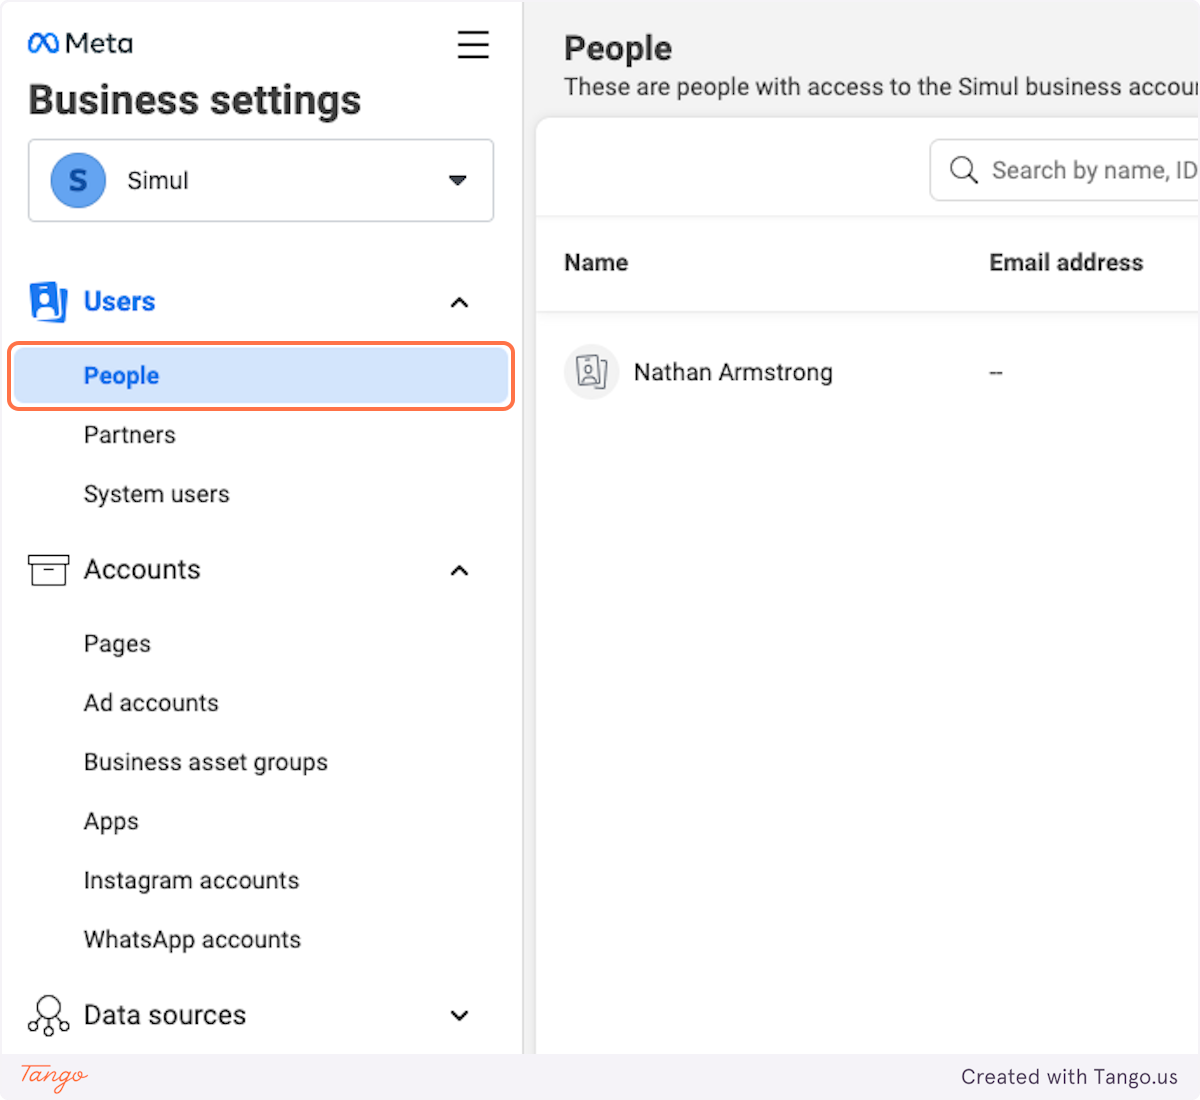
1. Go to https://business.facebook.com/settings & click on people
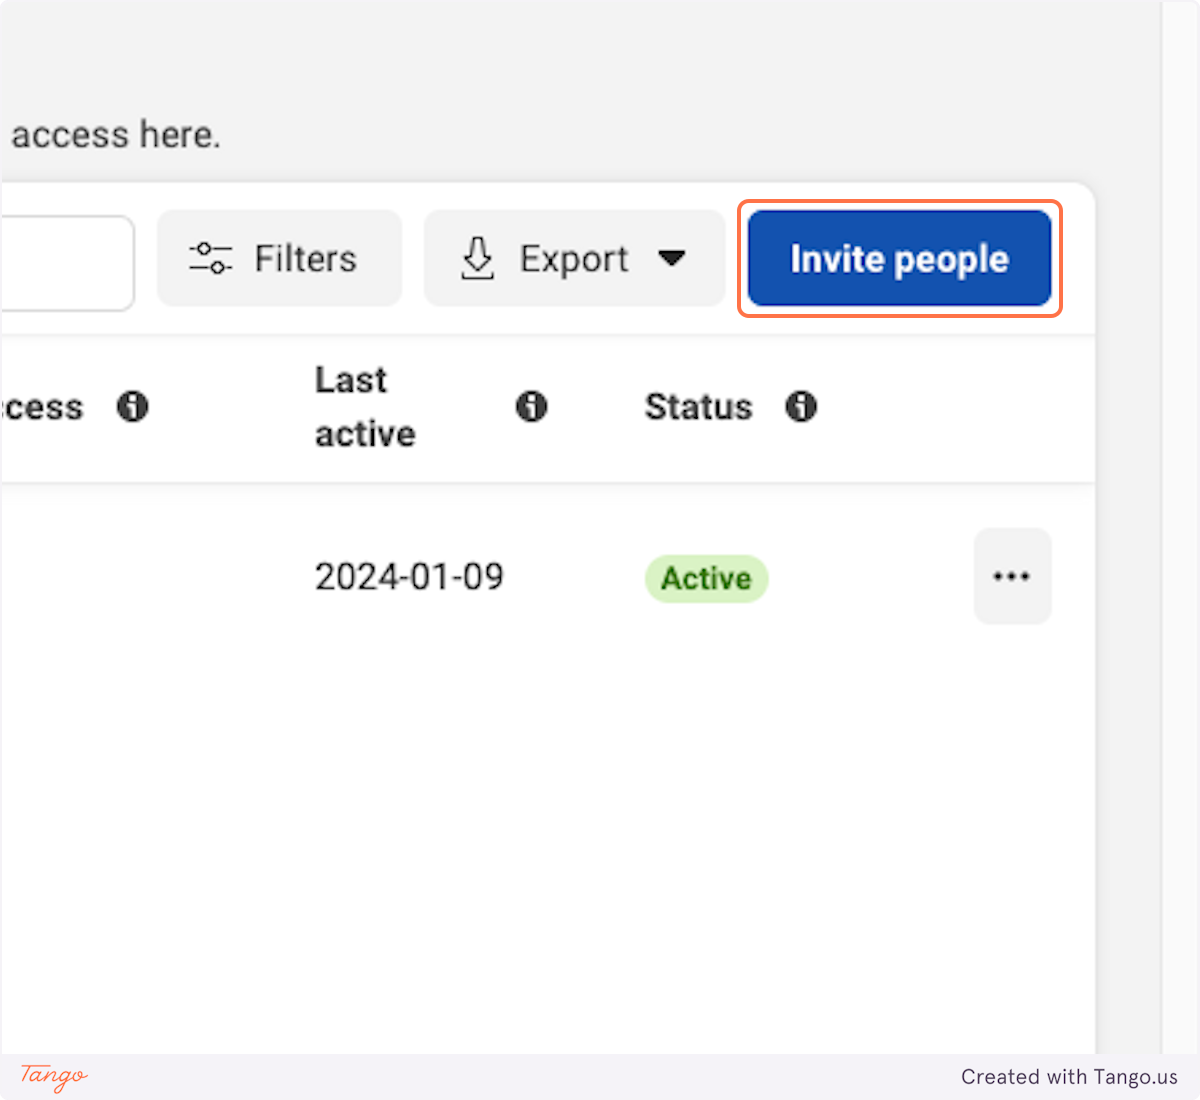
2. Click on Invite people
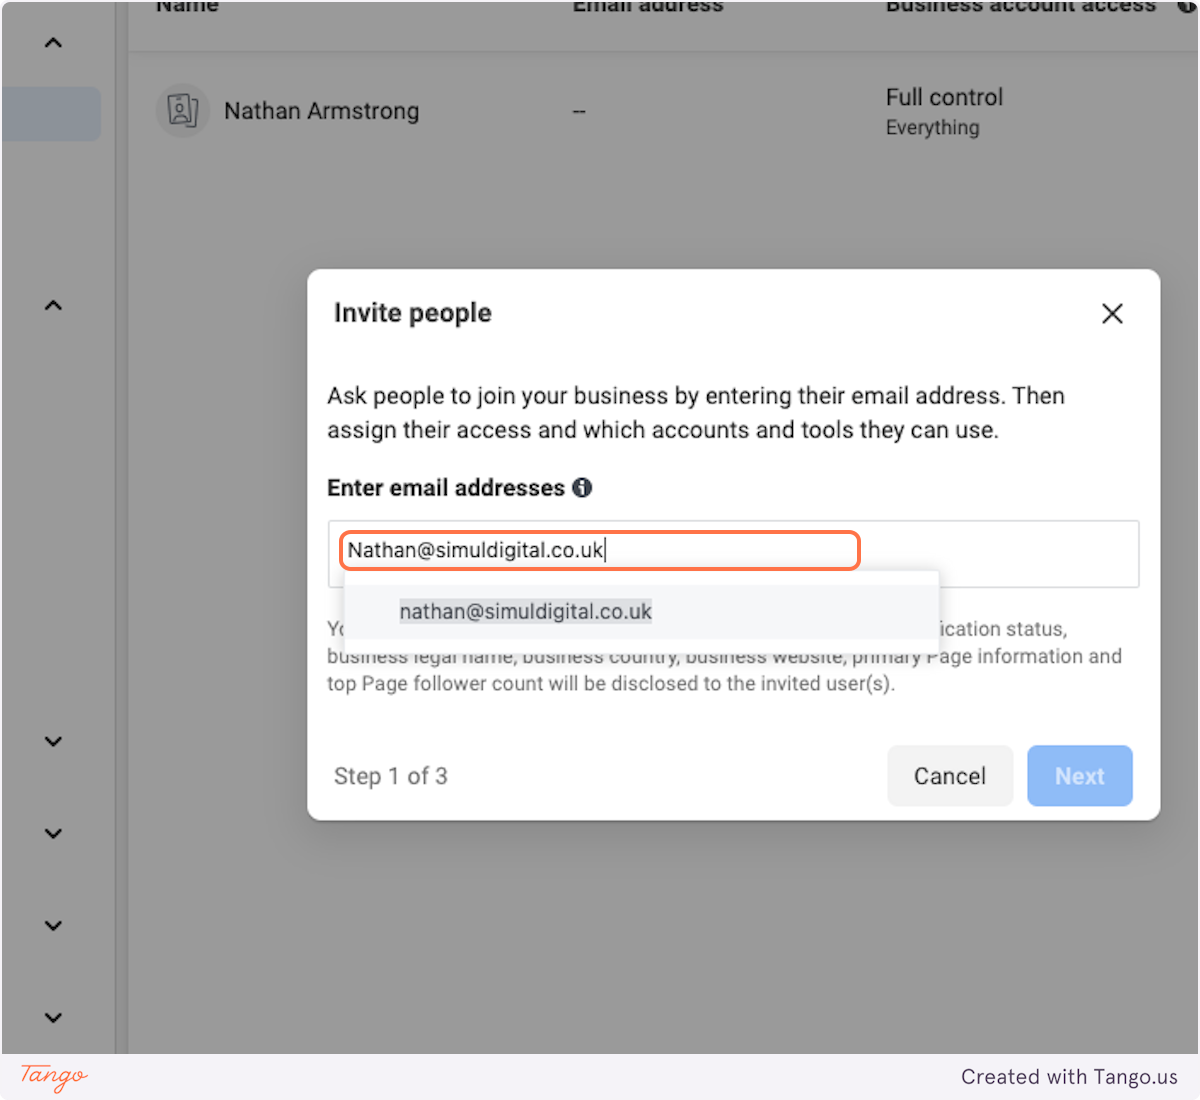
3. Type "Nathan@simuldigital.co.uk"
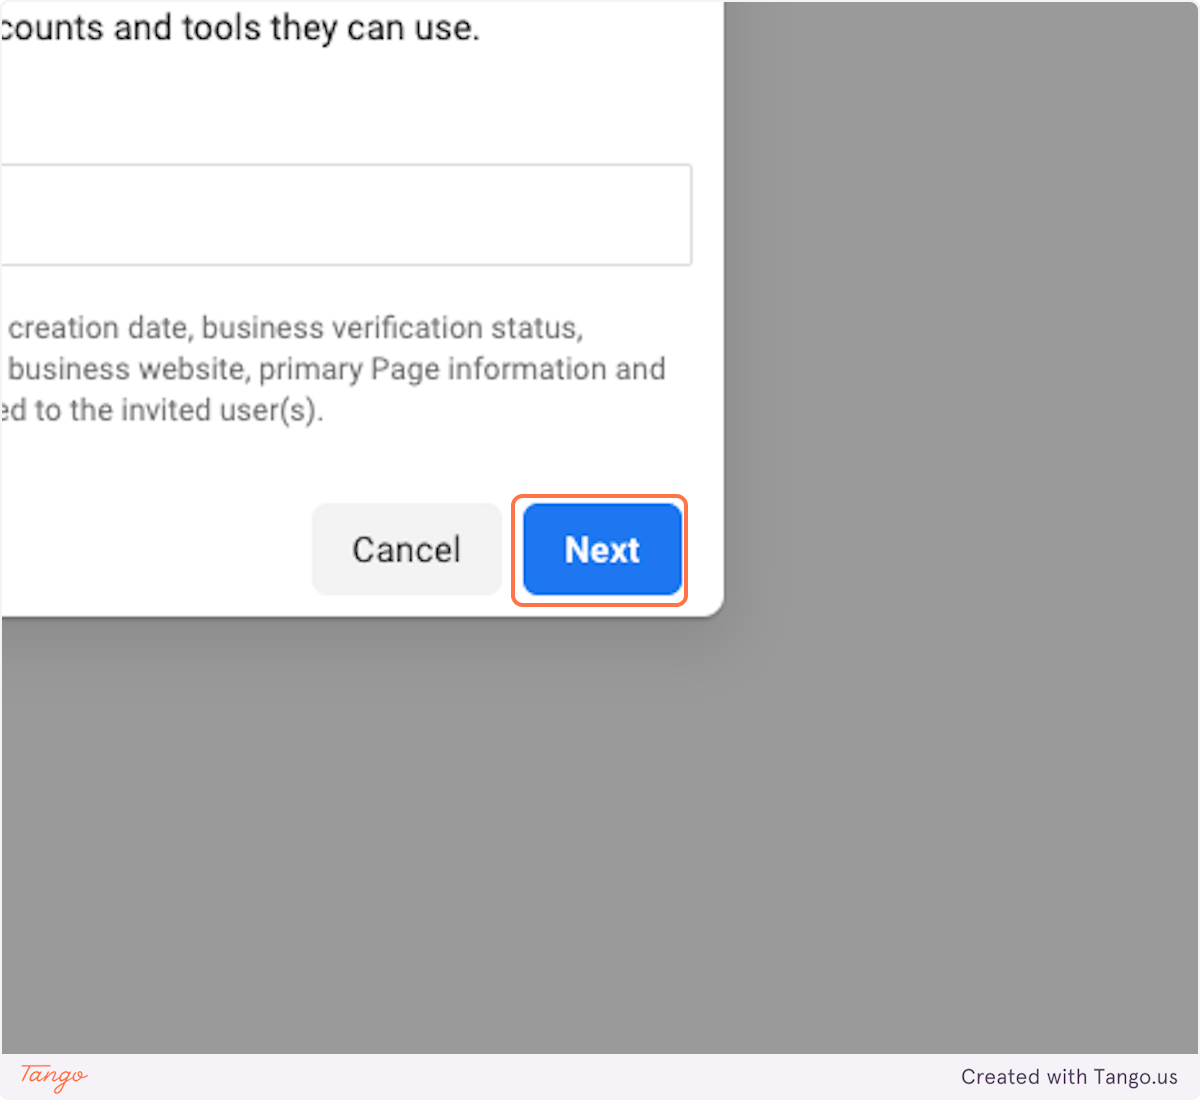
4. Click on Next
5. Click on Apps and integrations
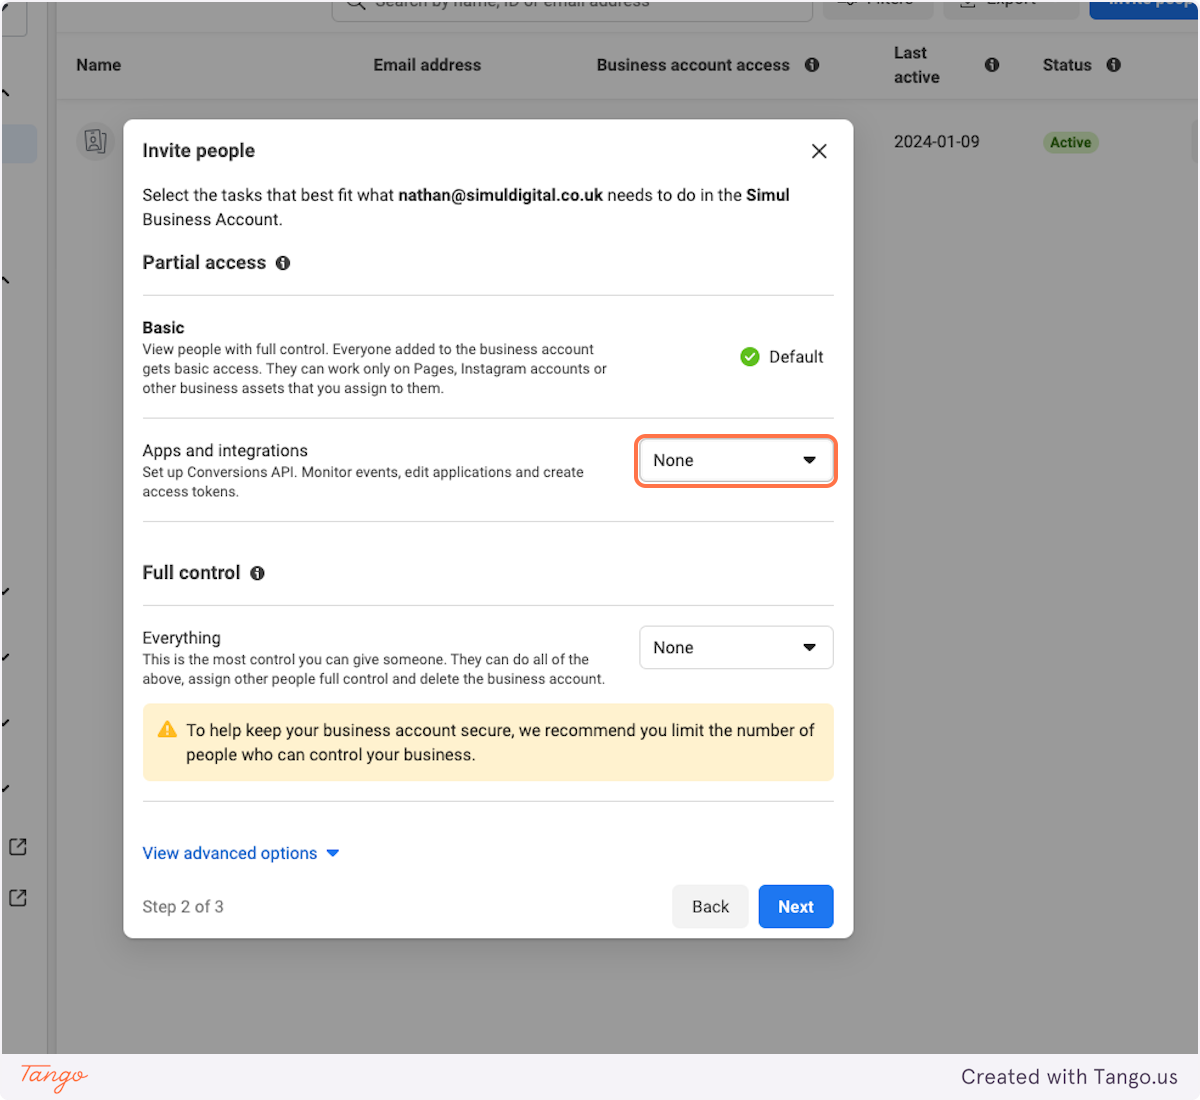
6. Click on View and manage
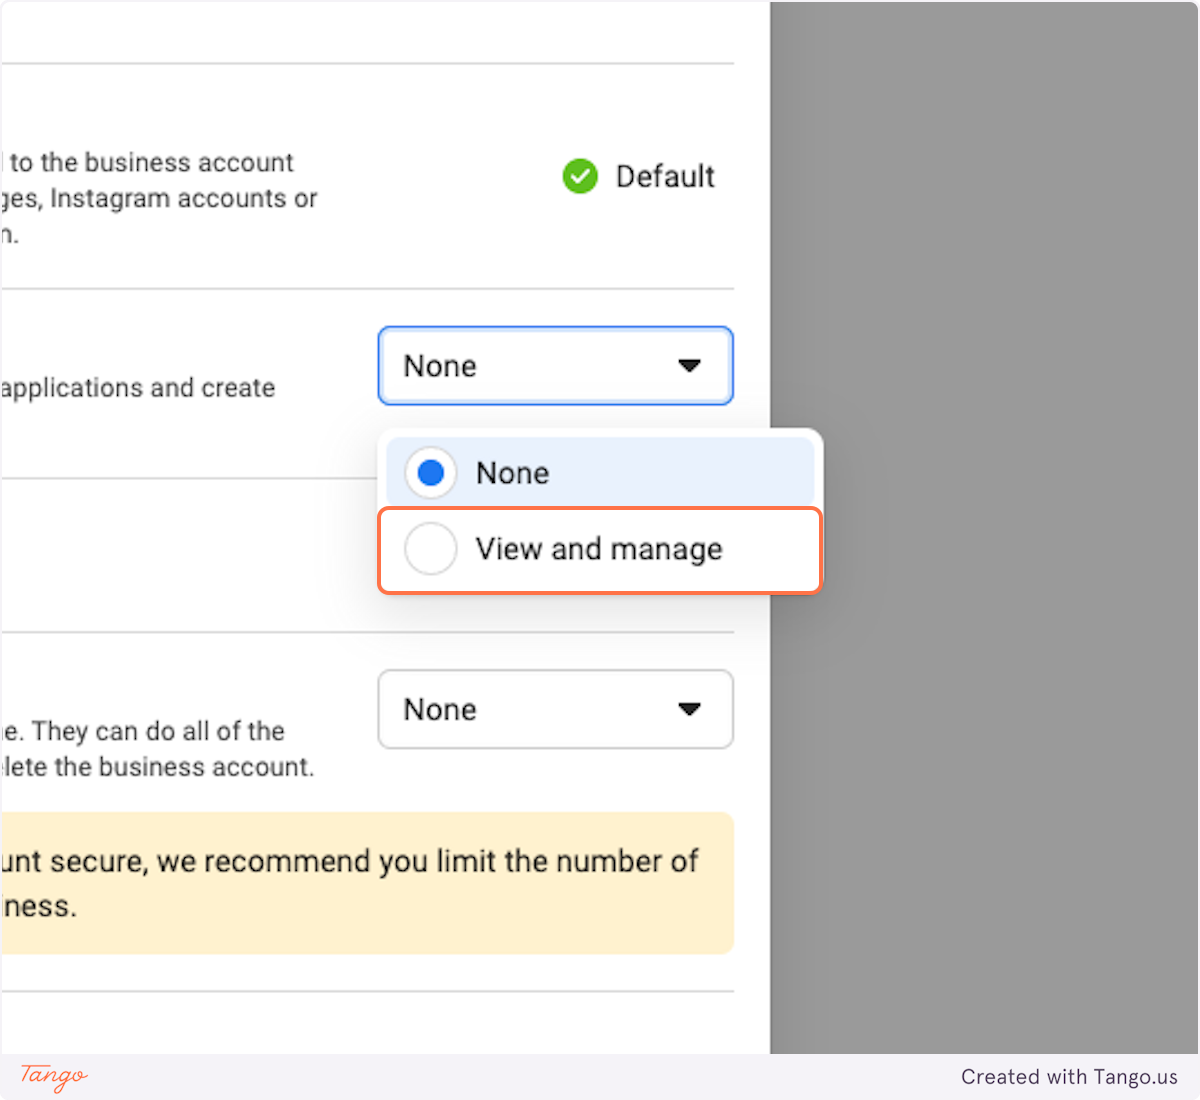
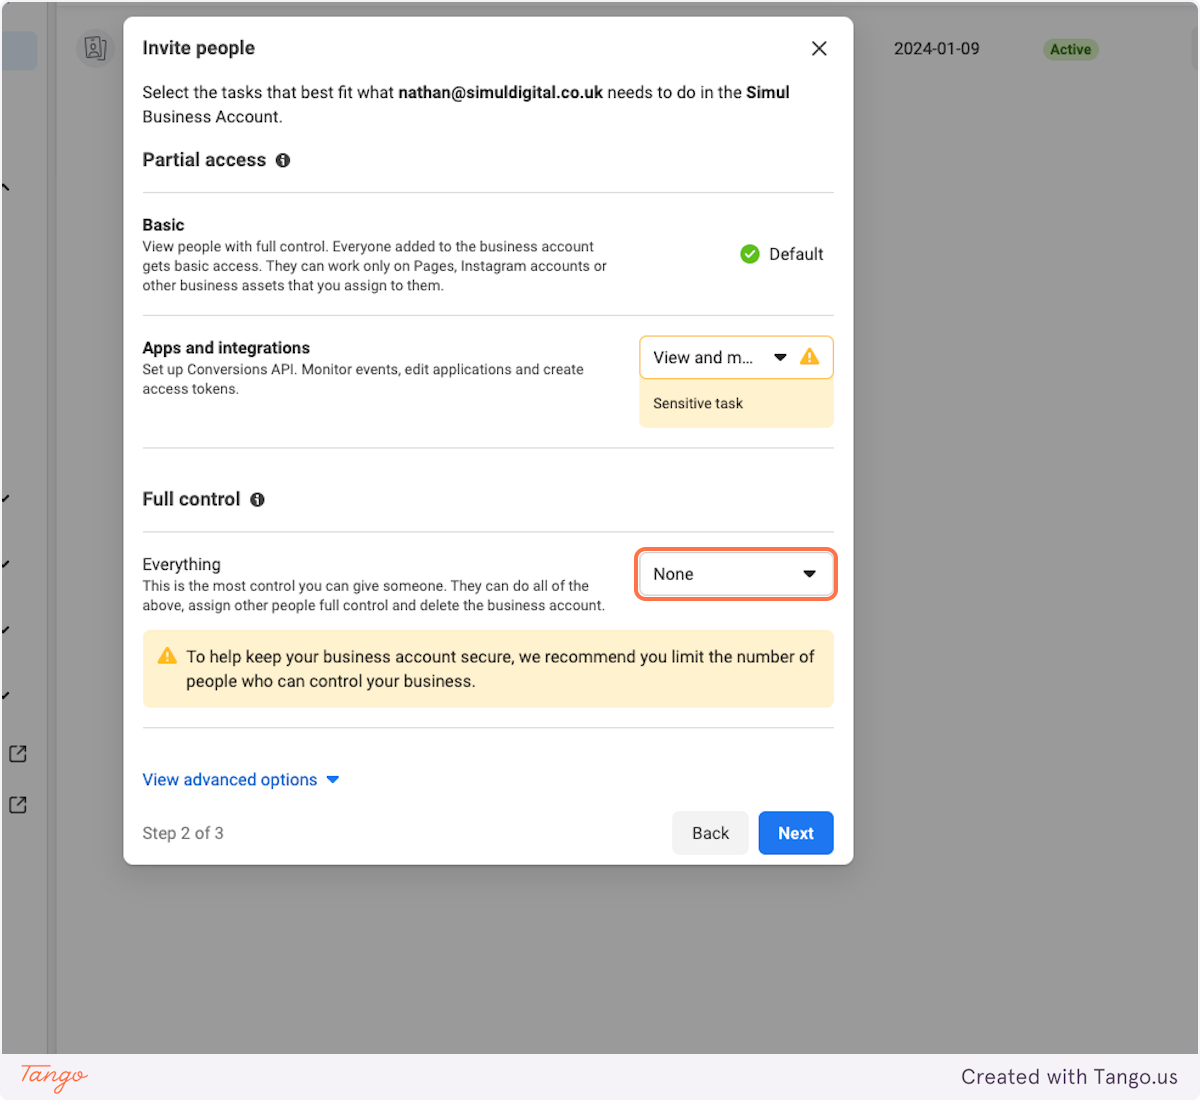
7. Under Full Control Click on Everything
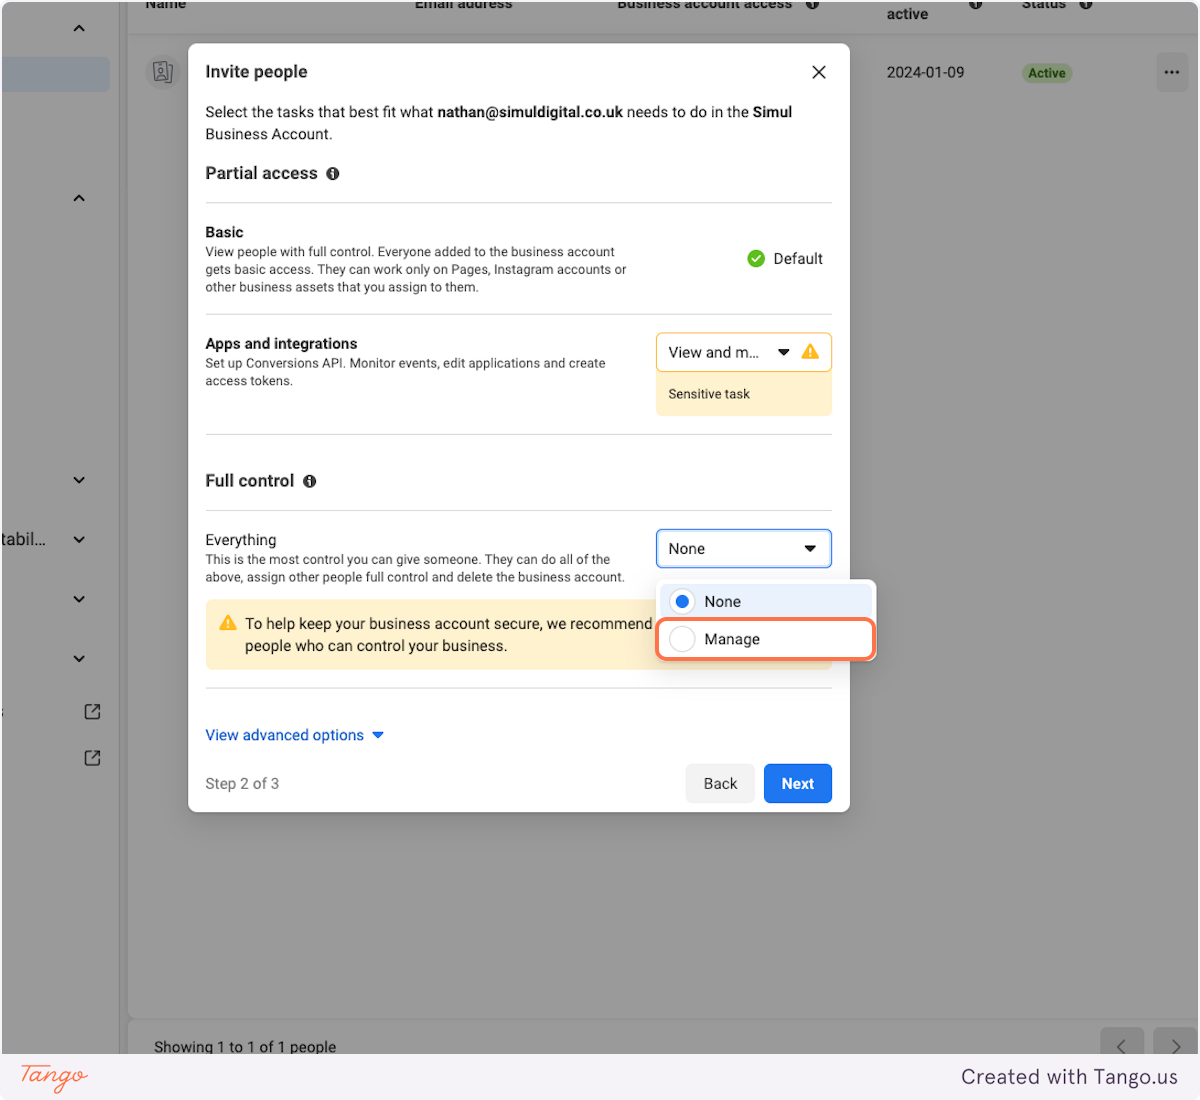
8. Click on Manage
9. Click on View advanced options
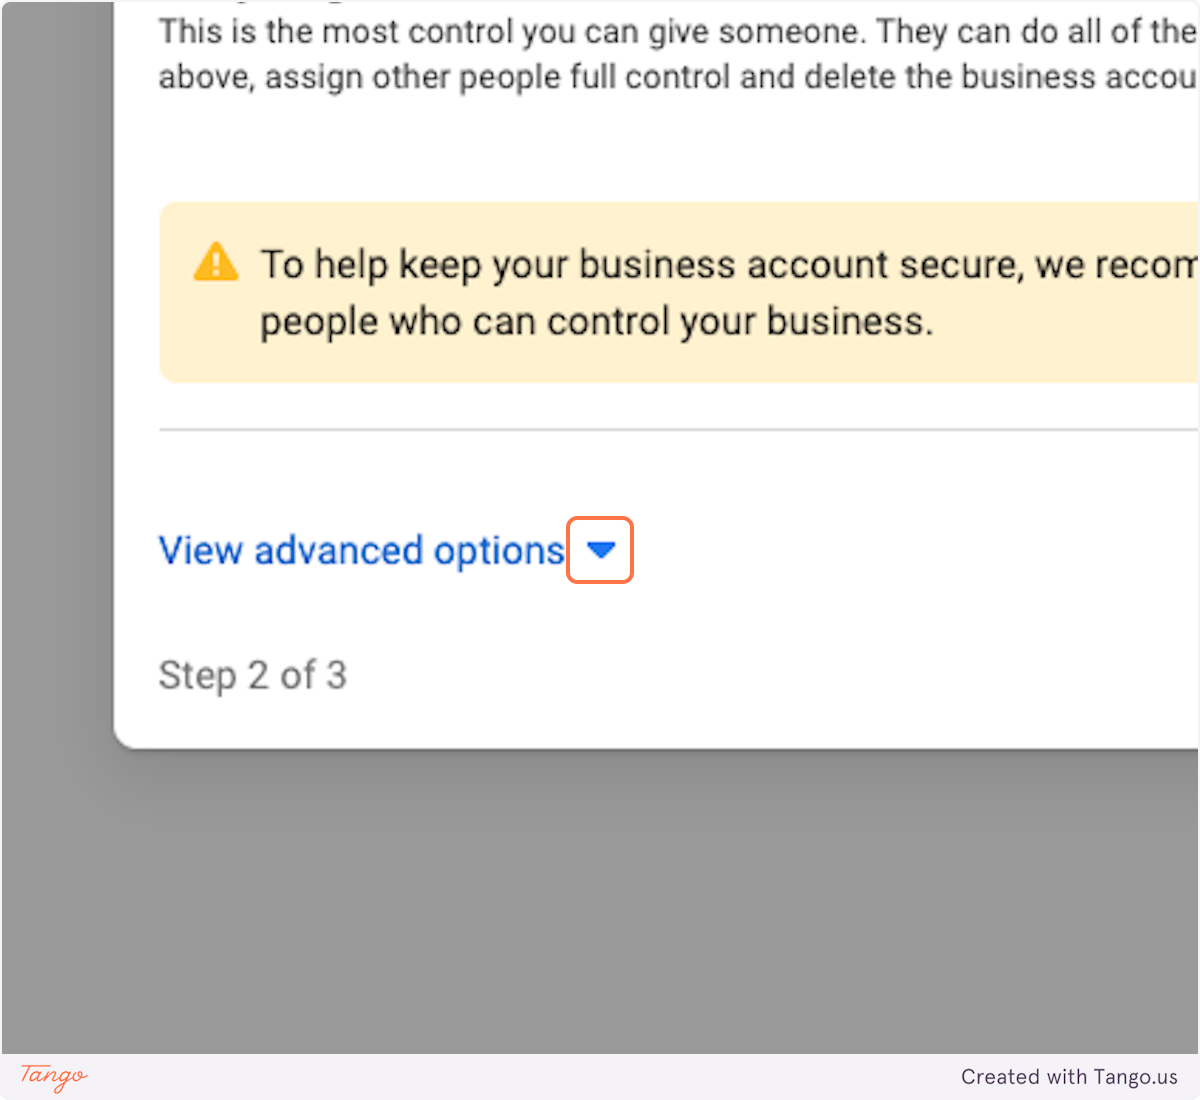
10. Click on Finance
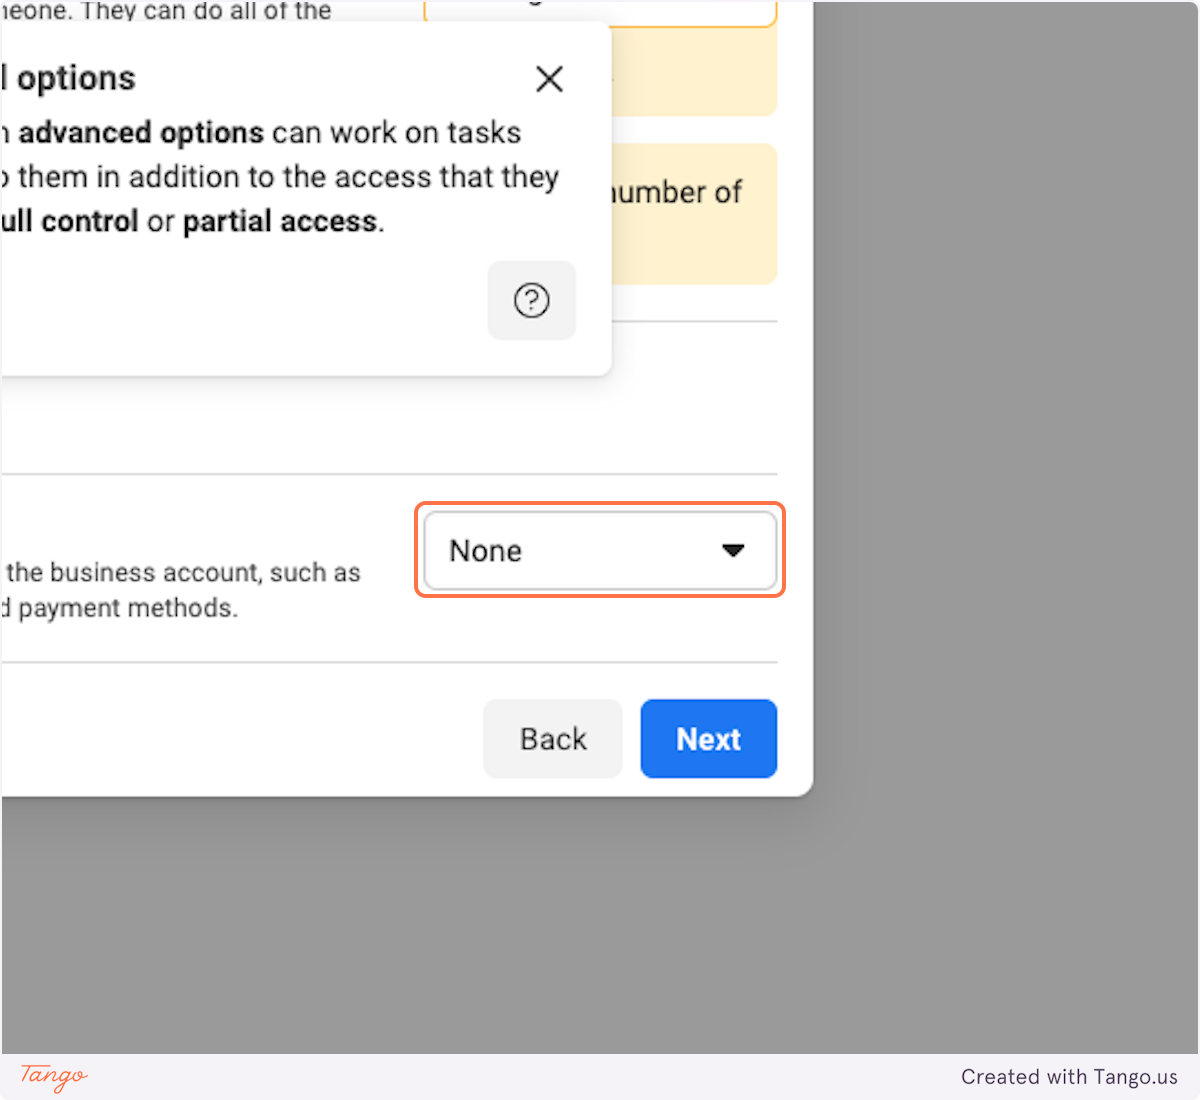
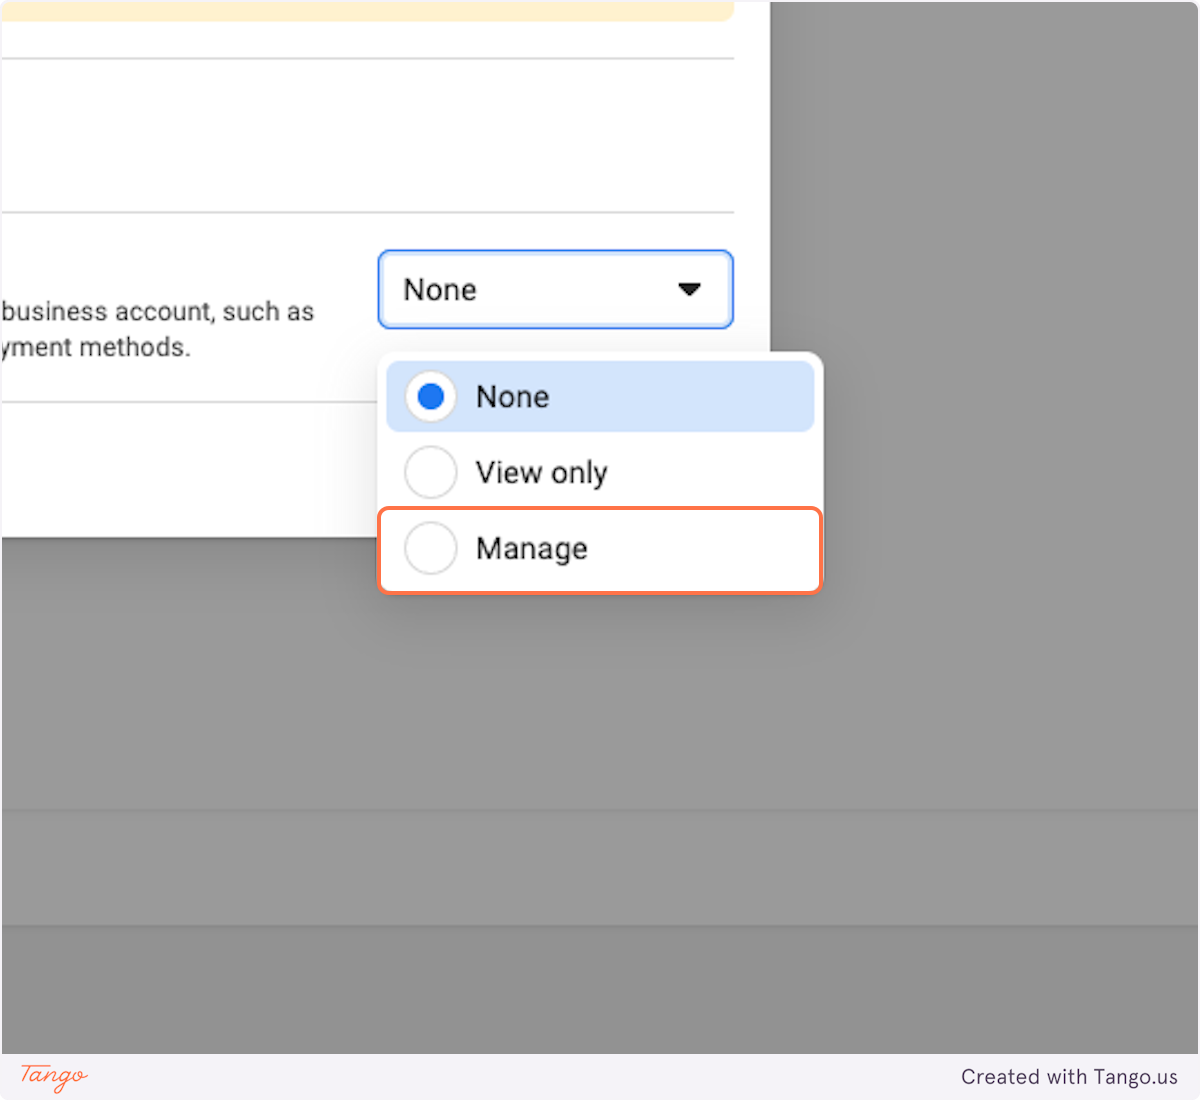
11. Click on Manage
12. Click on Next
13. Now you need to click into each section in the list on the left and select the appropriate business assetts to assign.
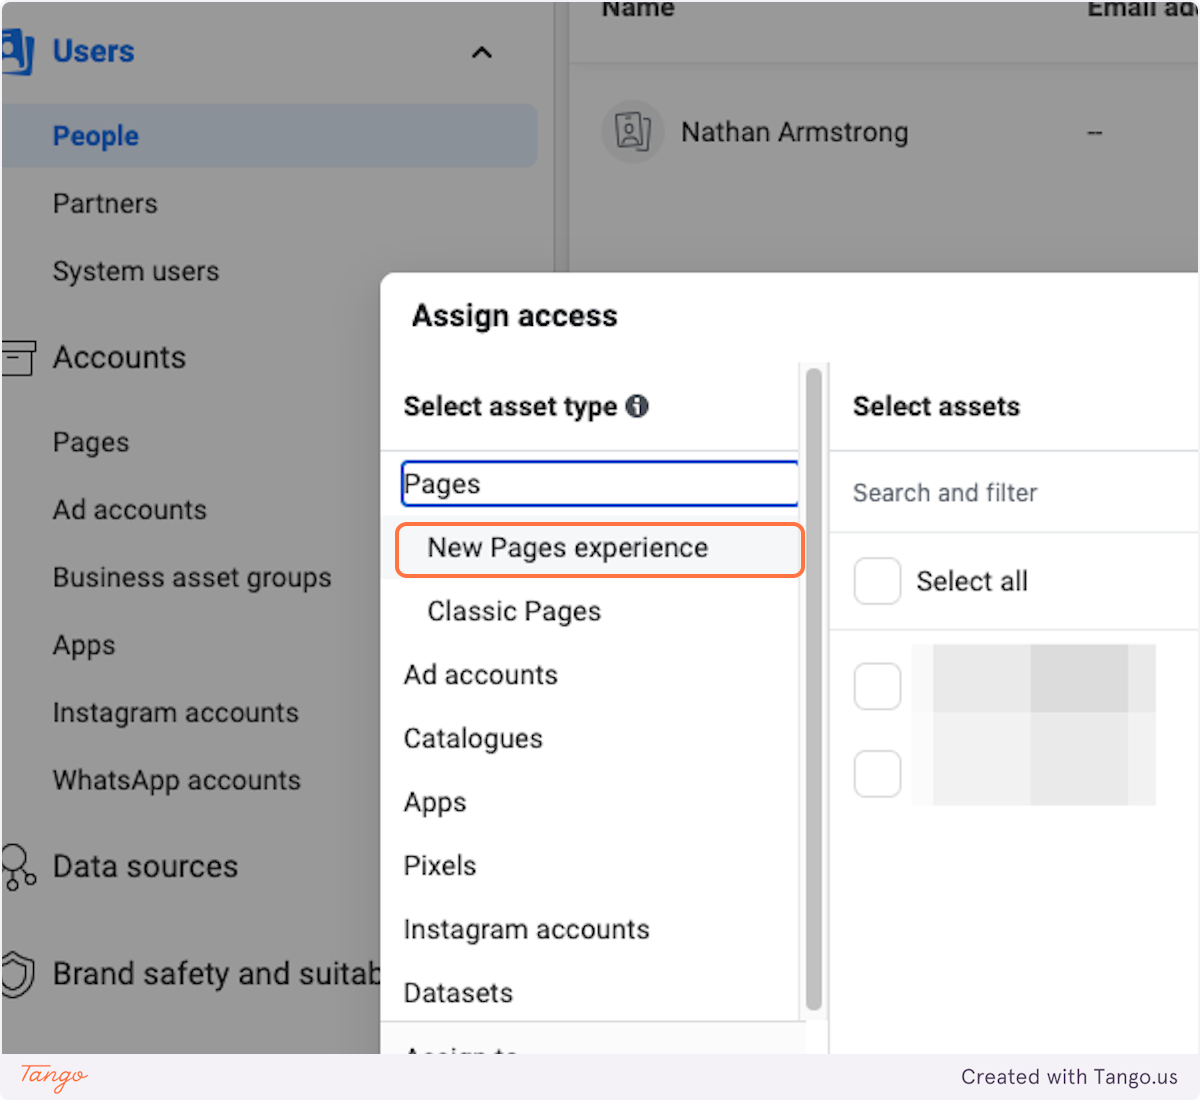
14. Your business name is represented by simul here so check the box next to your business name
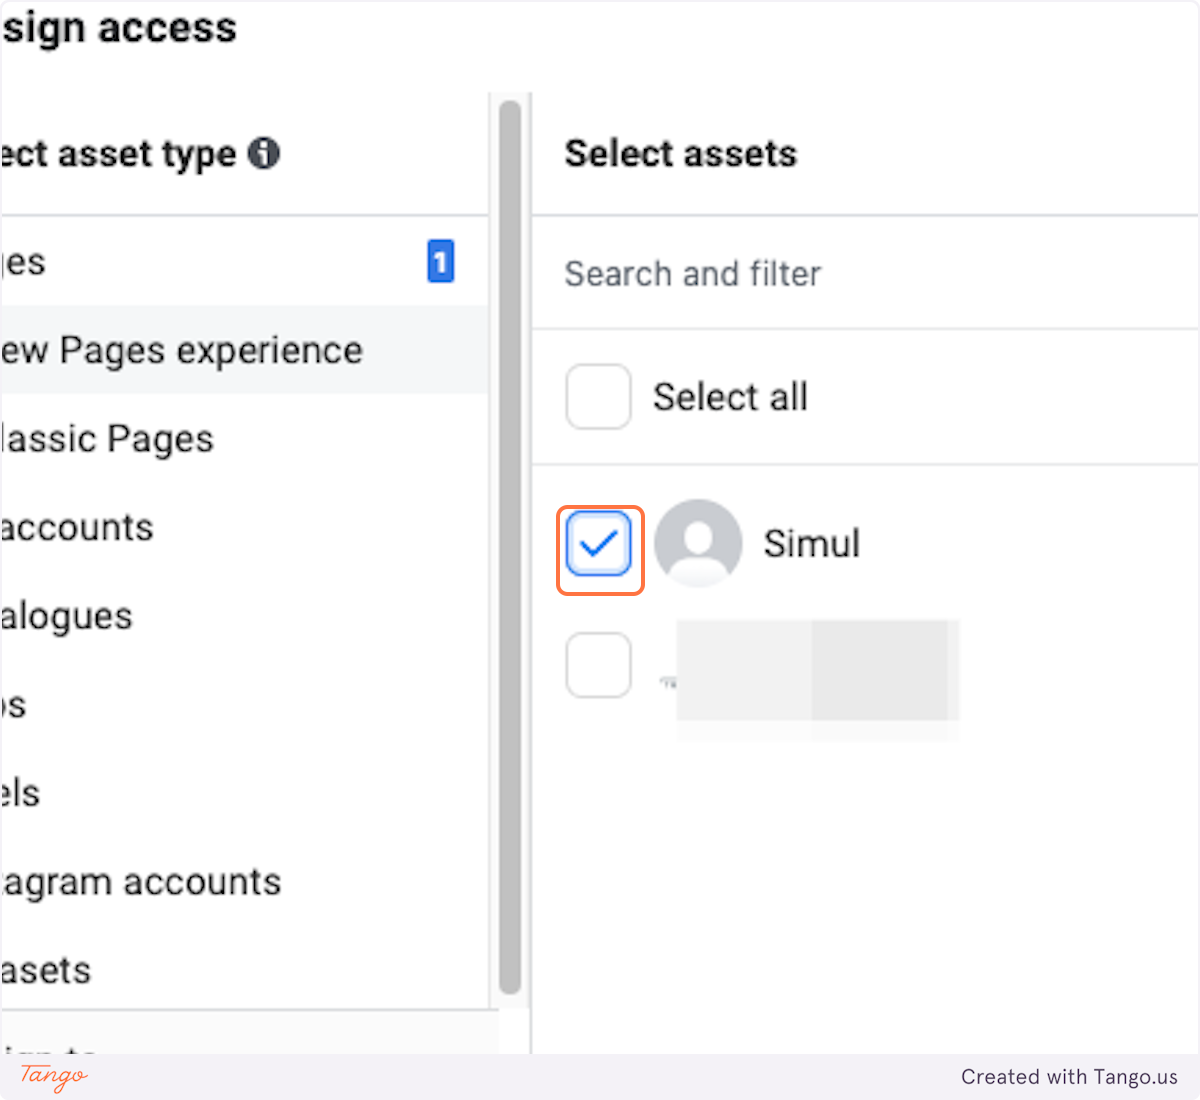
15. In The Right box scroll to the bottom and check everything.
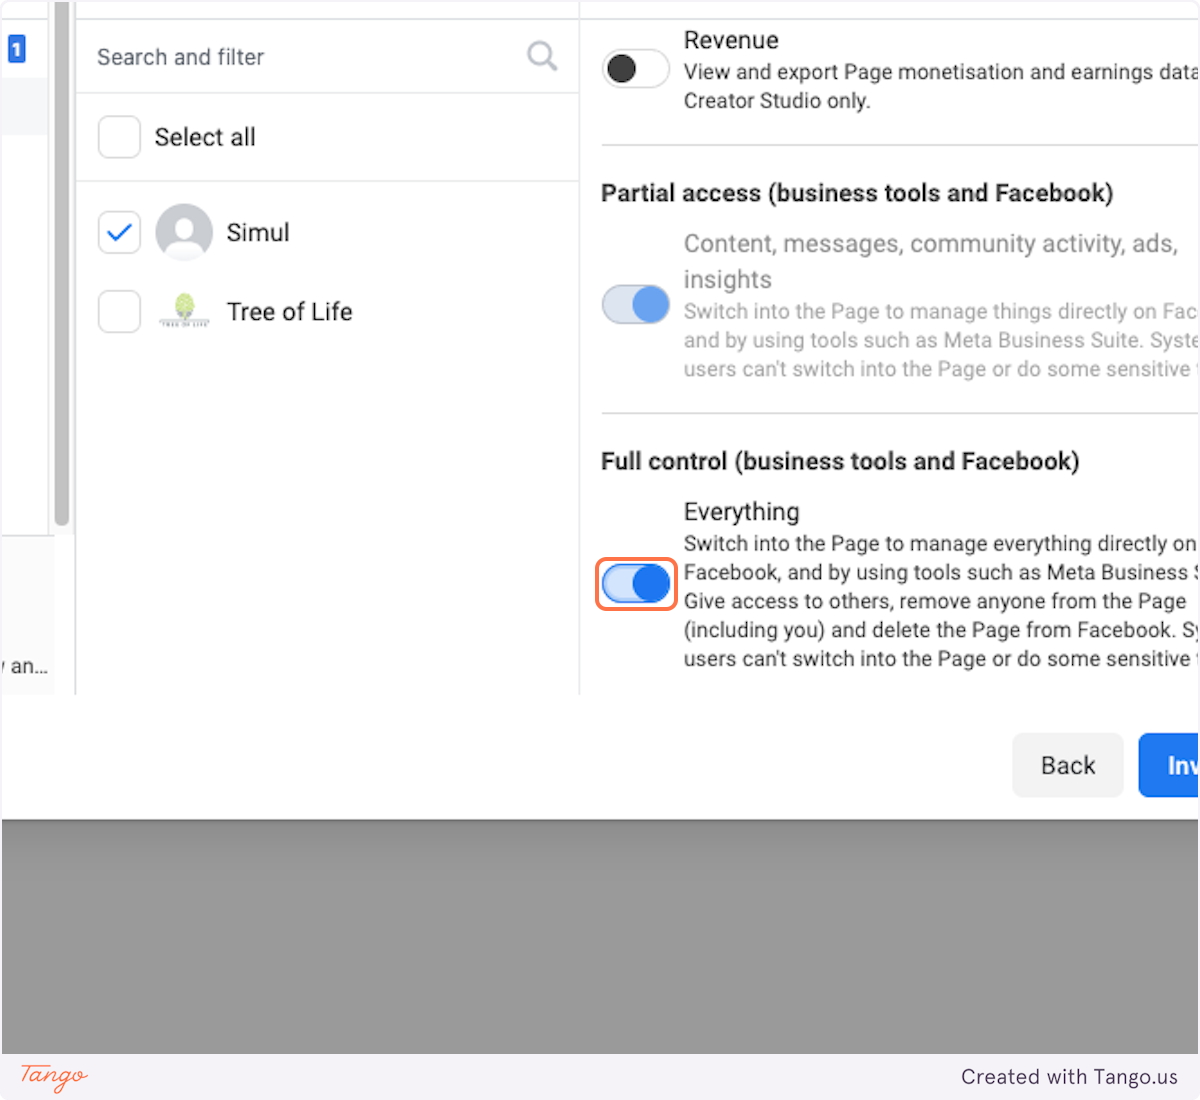
16. Also check revenue as we will need this to report on performance of the account.
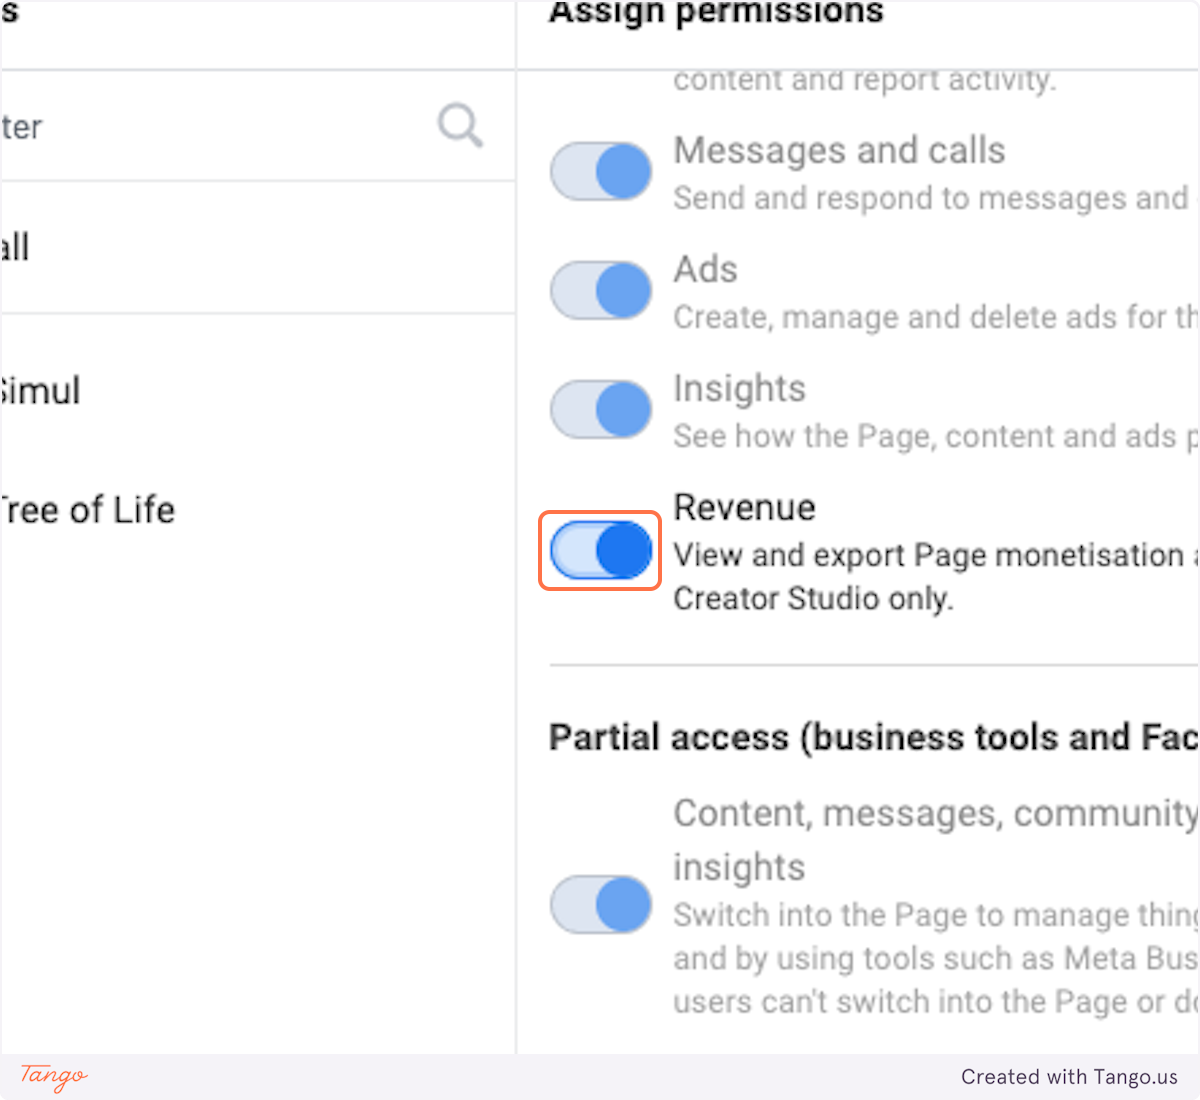
17. Next go through each section and do the same with the box on the right making sure you have checked your business name everytime and you provide access to everything in the scroll box on the right.
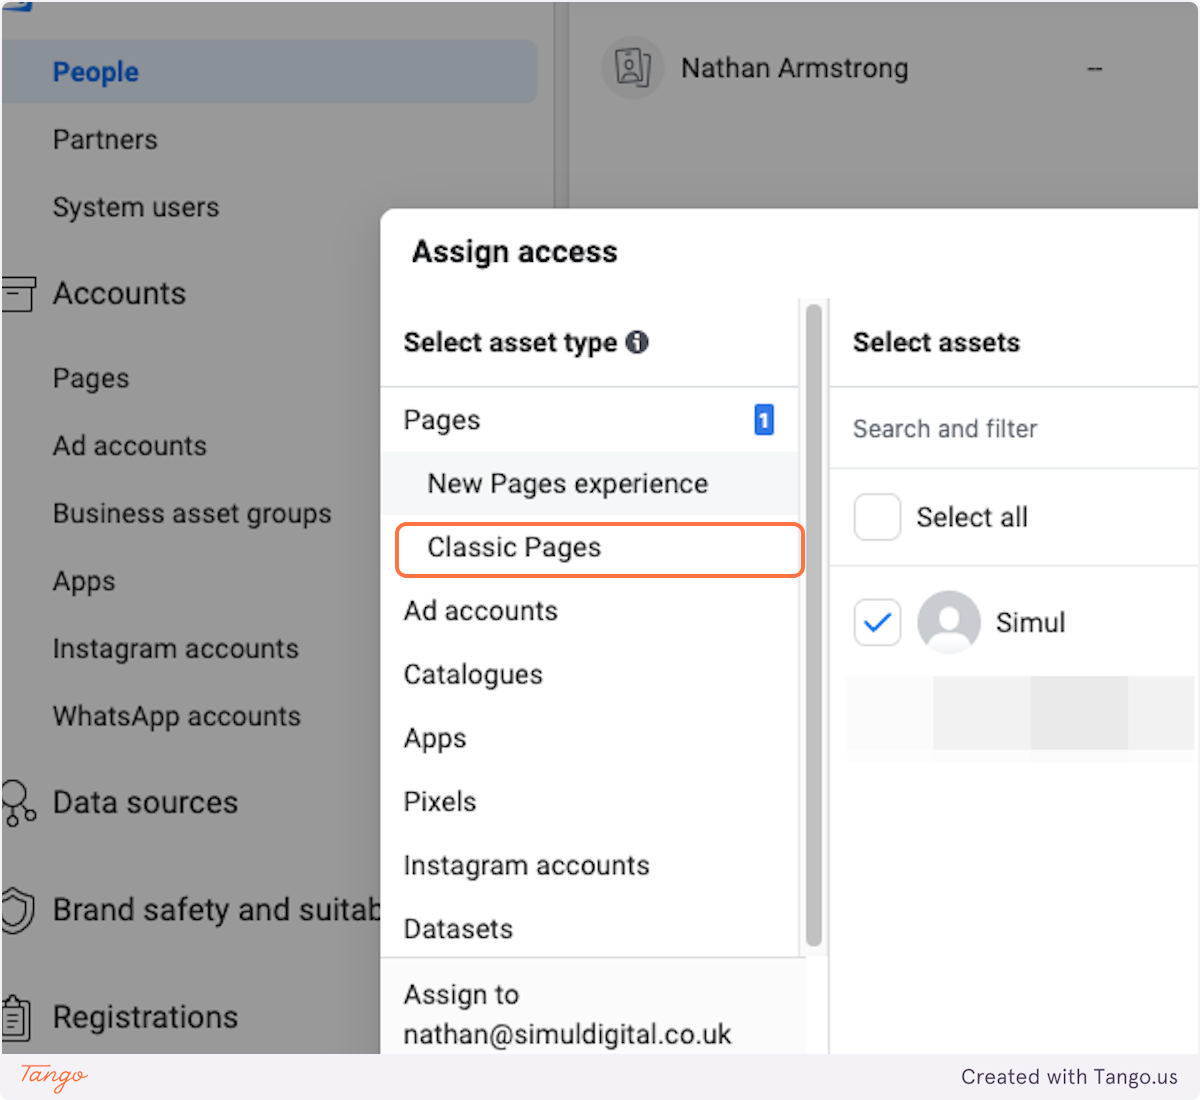
18. Click on Ad accounts
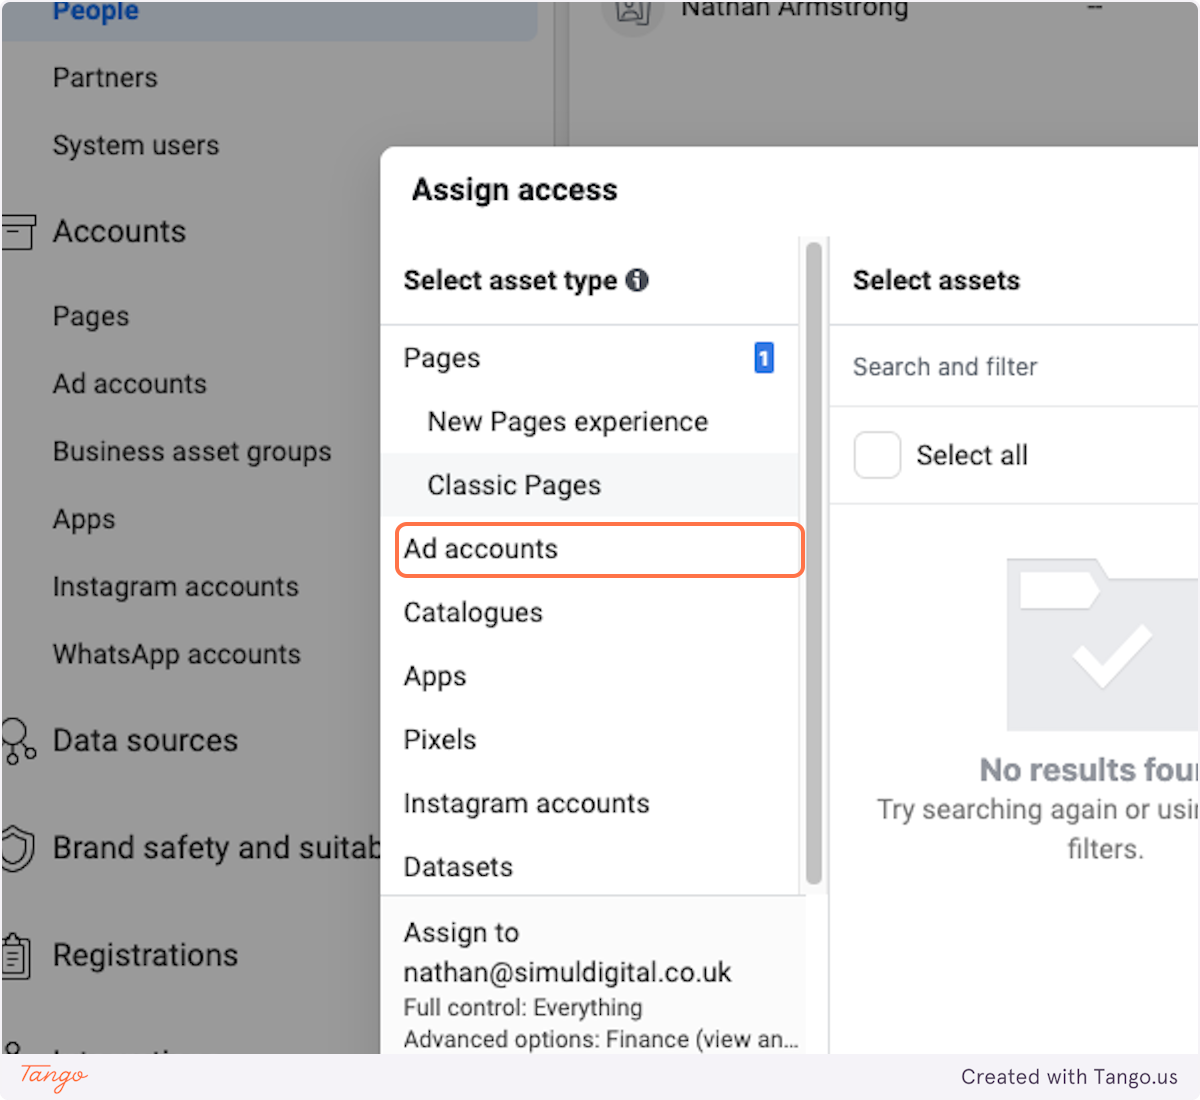
19. Click on Catalogues
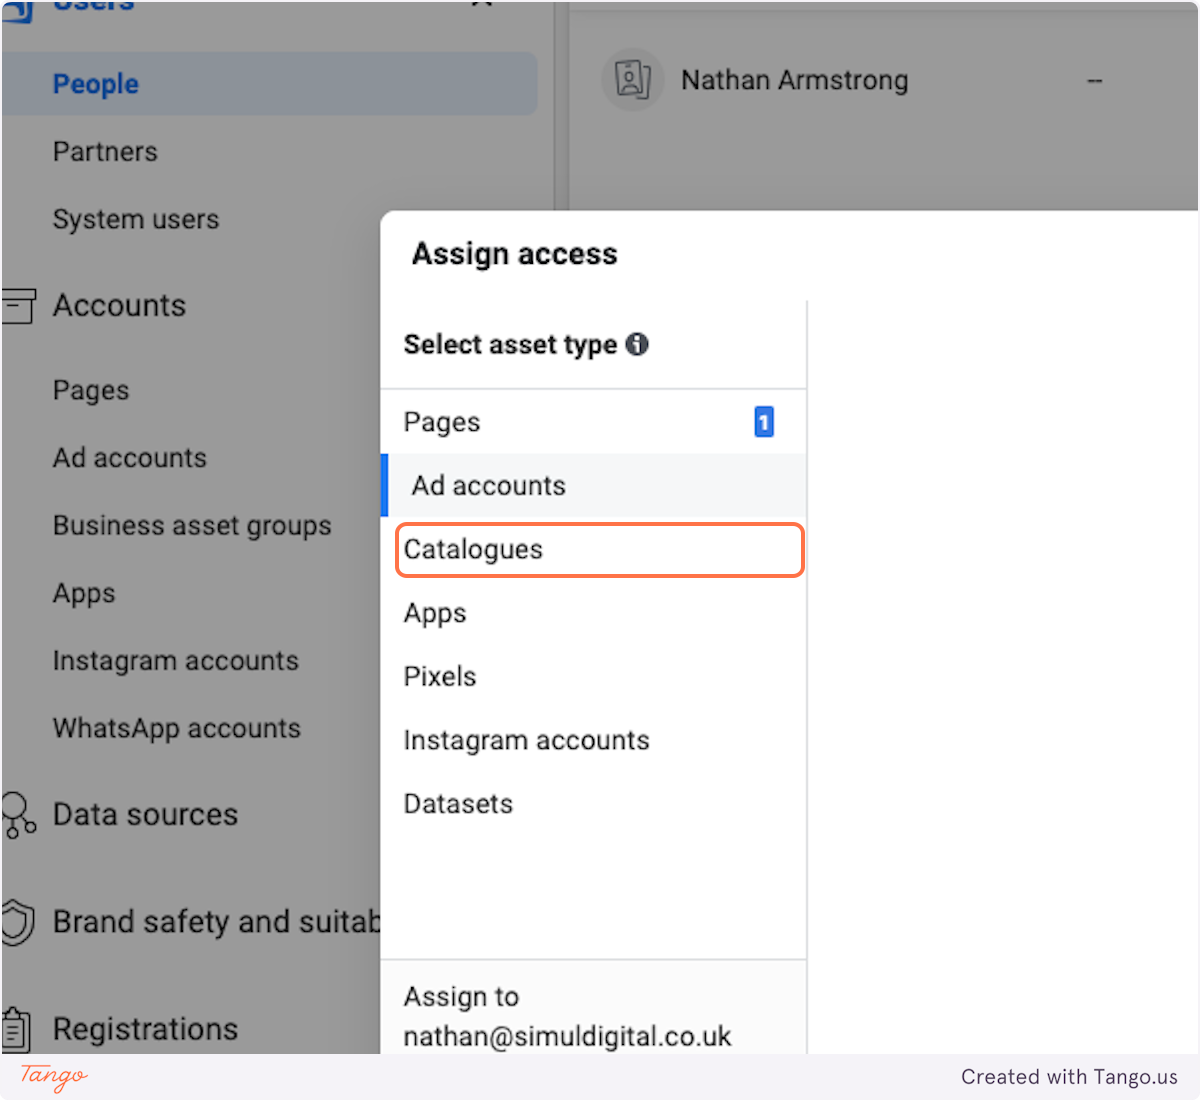
20. Click on Apps
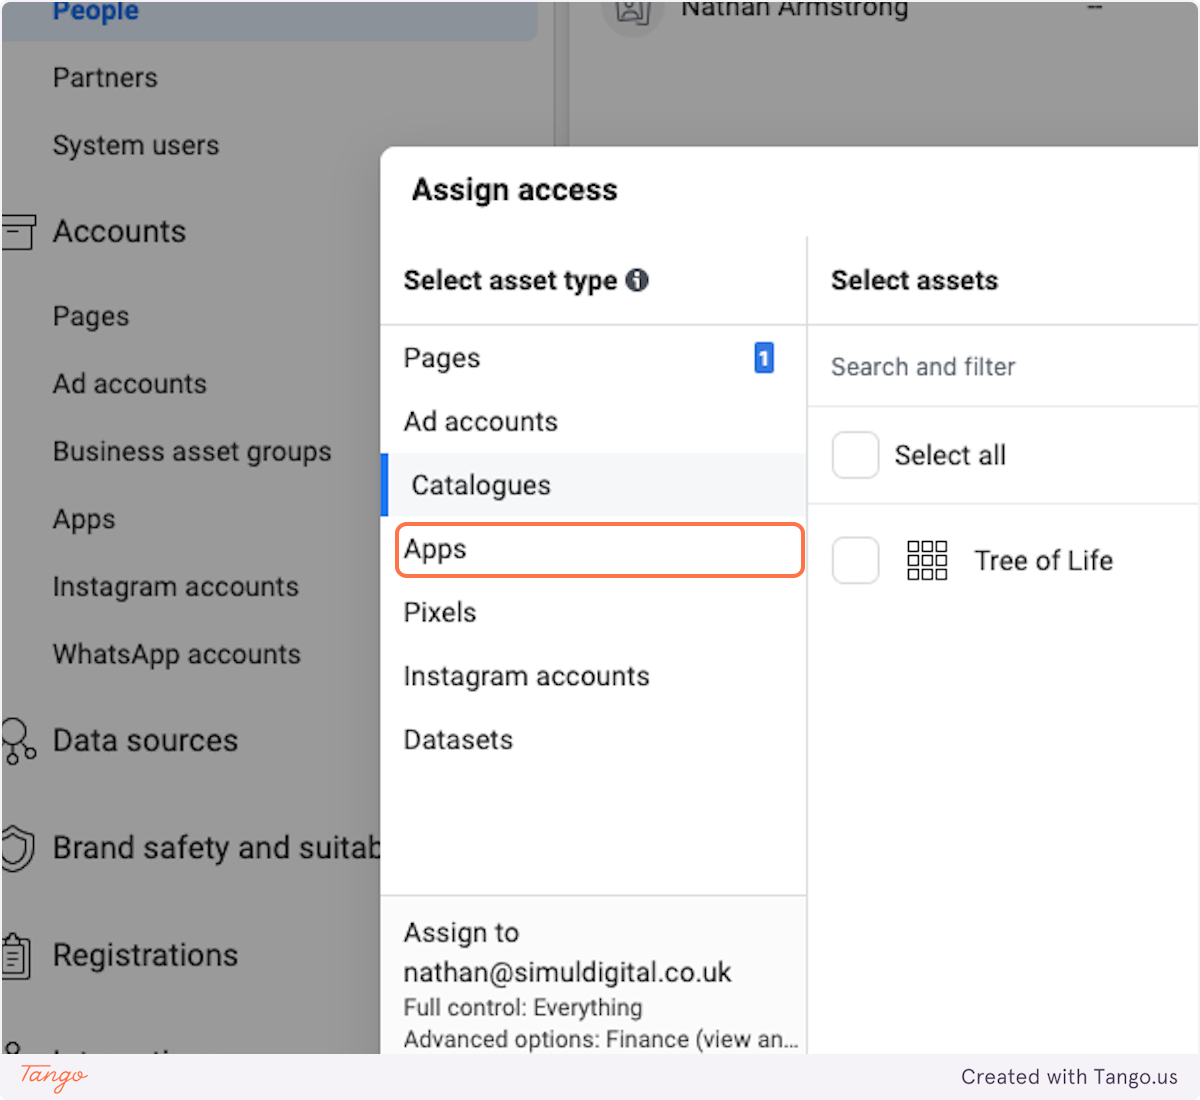
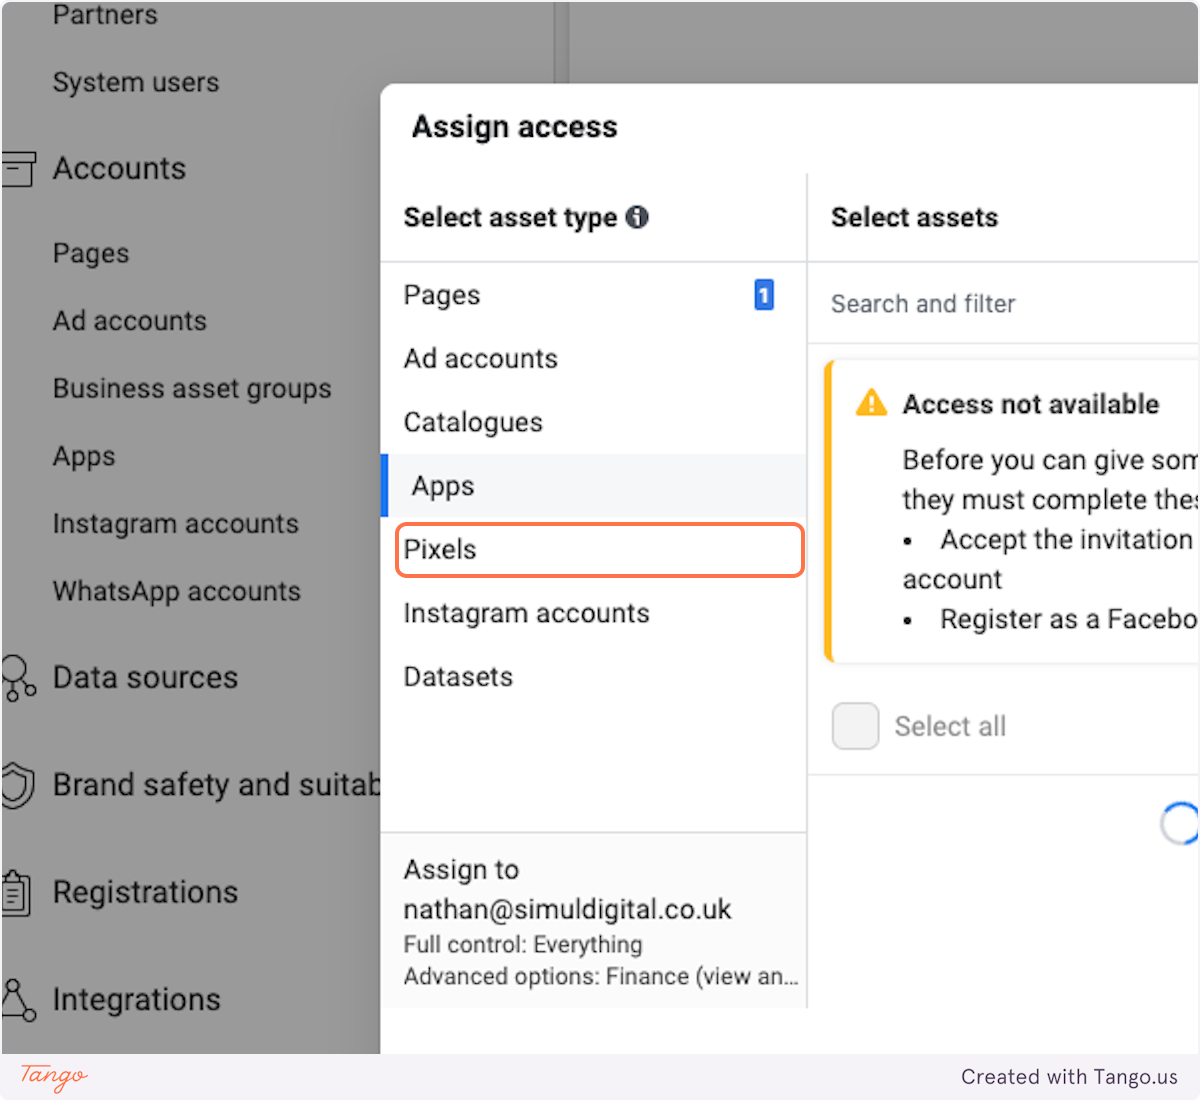
21. Click on Pixels
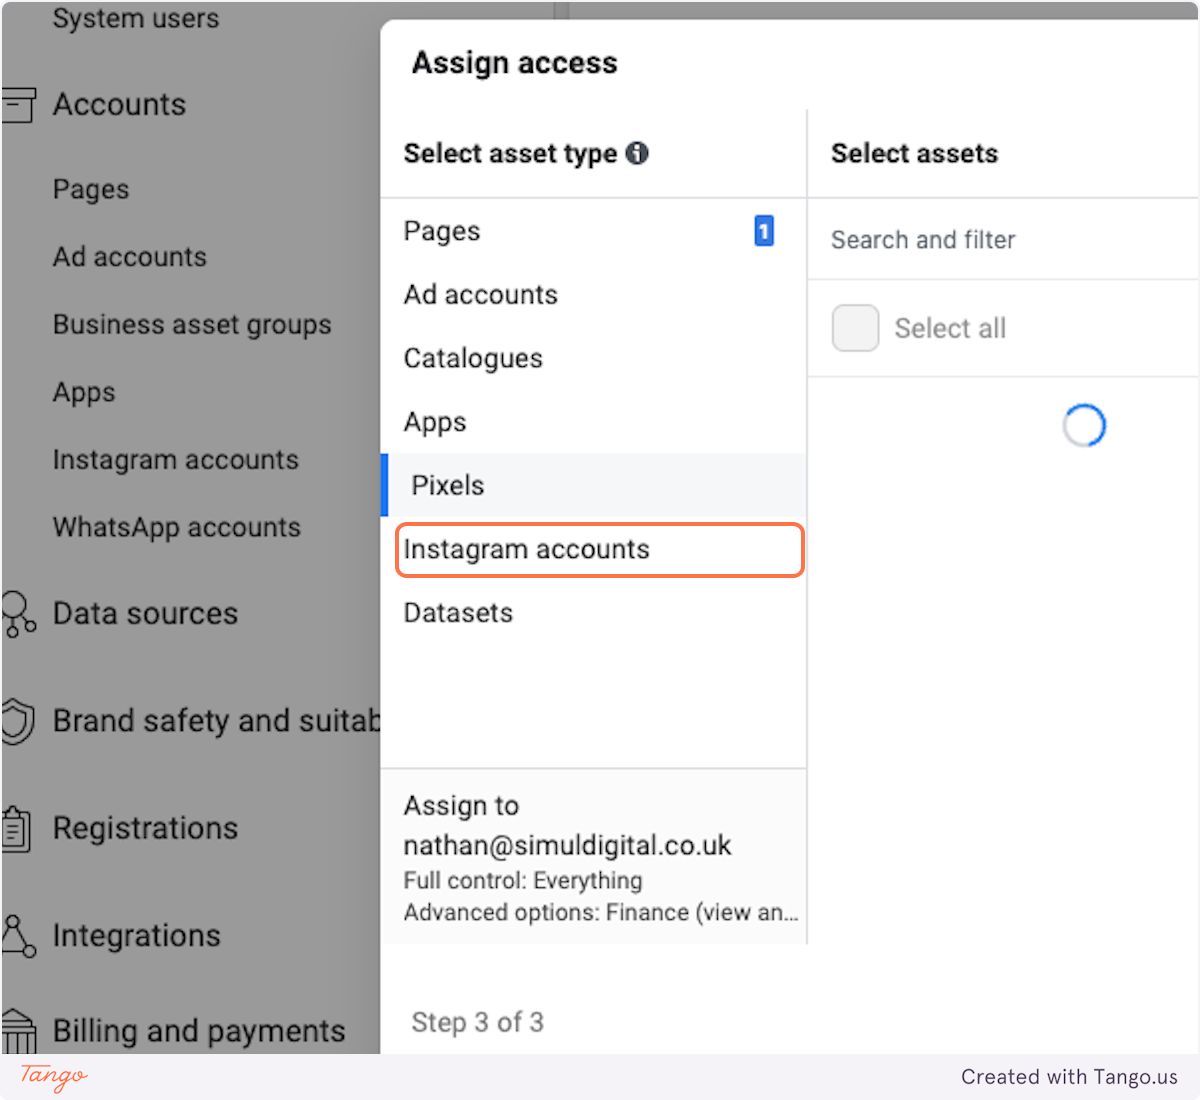
22. Click on Instagram accounts
23. Click on Invite
